According to some studies, a 100-millisecond delay in website load time can hurt conversion rates by 7%. Everyone wants a fast loading site and with WordPress there are multiple methods to achieve a fast loading site. I am going to walk you through some of the best methods I have found to speed up a WordPress site in this article.
Speed = Money for Your Business
Every second counts online. A 0.1-second improvement in site speed can boost conversions by 8.4% for retail sites and 10.1% for travel sites, according to comprehensive Google/Deloitte research analyzing 37 brands and 30 million user sessions. Your customers may not want to wait for your website to load if it takes a long time.
Mobile users are even less patient than desktop users. If your site takes more than 3 seconds to load on their phone, 53% of your visitors will leave, based on Google’s analysis of mobile website performance data.
The good news? You can fix speed problems without changing your hosting plan.
My Top Recommendation: NitroPack (Hands Down the Best)
Before we dive into manual fixes, here is the fastest way I have found to speed up your WordPress site: NitroPack. I’ve tested dozens of optimization solutions over the years, and nothing comes close to NitroPack’s results. It consistently delivers 90+ PageSpeed scores for desktop and 75+ for mobile with zero technical knowledge required.
What is NitroPack? It’s a cloud-based optimization service that combines advanced caching, image optimization, CDN (Content Delivery Network – a globally distributed network of servers that cache and deliver static content from locations closest to users), code cleanup, and content delivery all in one solution.
NitroPack can reduce load times by 40-70% in under 5 minutes based on independent testing. It handles everything: caching, image optimization, code cleanup, and content delivery. I’ve personally seen sites go from 7-second load times to under 3 seconds just by installing NitroPack.
NitroPack Current Pricing (Updated September 2025):
- Free Plan: Try it risk-free with 5,000 page views
- Starter: $7/month ($84/year) – Perfect for small sites
- Plus: $18/month ($216/year) – Best for growing businesses
- Pro: $83/month ($996/year) – Advanced features for power users
Setup Steps:
- Install the NitroPack plugin from WordPress
- Create your free account
- Connect your site
- Choose optimization level
- Done
For WP Engine Users: If you host with WP Engine, you can access NitroPack technology through their “Page Speed Boost” addon. This gives you the same optimization power with seamless integration into your WP Engine dashboard. I highly recommend this if you’re on WP Engine – it’s the best of both worlds.
Technical Definitions You Need to Know
Let me explain some key terms that will help you understand website performance:
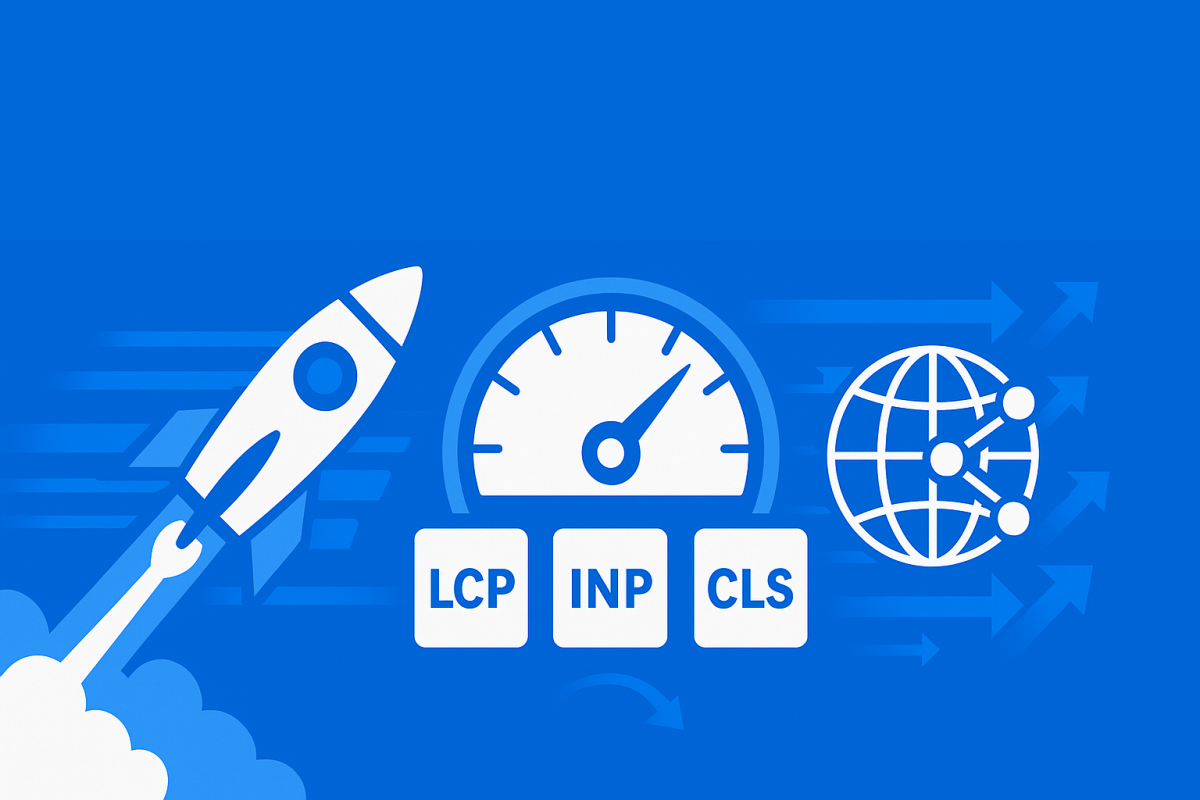
Core Web Vitals: Google’s three key metrics for measuring user experience. As of 2024, these are:
- LCP (Largest Contentful Paint): Must load within 2.5 seconds – measures loading speed
- INP (Interaction to Next Paint): Must respond within 200 milliseconds – measures interactivity (this replaced FID in March 2024)
- CLS (Cumulative Layout Shift): Must be 0.1 or less – measures visual stability
TTFB (Time to First Byte): The duration from when a user makes an HTTP request until their browser receives the first byte of data. Good TTFB is under 800ms according to Google.
Minification: Removing unnecessary characters from CSS, JavaScript, and HTML files (like whitespace and comments) to reduce file sizes by 20-30%.
GZIP Compression: A compression method that reduces text-based file sizes by up to 70-90% without affecting functionality.
Hour 1: Quick Wins (No Cost)
Step 1: Remove Unused Plugins
Go to your WordPress dashboard. Click “Plugins” then “Installed Plugins.” Delete any plugins you do not use. Each plugin slows down your site.
Look for these common speed killers:
- Social media widgets you never set up
- Contact forms you do not use
- SEO plugins when you already have one
- Backup plugins running constantly
Step 2: Compress Your Images
Large images are the biggest speed killer. Use these free tools:
- TinyPNG: Upload images before adding them to WordPress
- Smush plugin: Automatically compress images already on your site
- WebP/AVIF format: Convert images to these faster formats (WordPress 6.5+ supports AVIF natively with 50% smaller file sizes than WebP)
Quick Image Rules:
- Keep images under 100KB when possible
- Resize images to actual display size
- Use AVIF when possible, WebP as backup, JPG for photos, PNG for graphics
Step 3: Install a Caching Plugin
If you don’t use NitroPack (which I strongly recommend you do), install a free caching plugin:
- LiteSpeed Cache (free) – Best free option with 6+ million installs
- WP Rocket ($59/year) – Premium but worth it for ease of use
- W3 Total Cache (free) – Good but complex to configure
Caching saves a copy of your pages so they load faster for repeat visitors by serving static HTML instead of processing PHP code each time.
Week 1: Medium-Term Improvements
Step 4: Set Up a Free CDN
A CDN serves your content from servers closer to your visitors. Cloudflare offers a free plan that works with any hosting and includes:
- Global content distribution
- Basic DDoS protection
- Free SSL certificates
- Unlimited bandwidth (fair use)
CloudFlare Setup:
- Sign up at cloudflare.com
- Add your domain
- Change your domain’s nameservers
- Enable speed optimizations
Step 5: Choose a Faster Theme
Your theme controls how fast your site loads. Avoid themes with:
- Built-in page builders
- Dozens of customization options
- Demo sites with sliders and animations
Fast Theme Options:
- Astra
- GeneratePress
- Neve
- Hello Elementor (if using Elementor)
Step 6: Clean Your Database
WordPress stores junk data over time. Use these plugins to clean it:
- WP-Optimize – All-in-one optimization
- Advanced Database Cleaner
Remove:
- Spam comments
- Post revisions
- Unused tags
- Orphaned data
Month 1: Advanced Techniques
Step 7: Optimize Code Loading
Lazy Loading: Images load only when visitors scroll to them. WordPress enables this by default since version 5.5, but optimization plugins provide better implementation.
Minify Code: Remove extra spaces and characters from your code. CloudFlare does this automatically, or use plugins like Autoptimize.
Defer JavaScript: Let important content load first, then run scripts. Advanced users can configure this in caching plugins.
Step 8: Monitor and Maintain
Speed Testing Tools:
- Google PageSpeed Insights – Uses real user data (most important)
- GTmetrix – Detailed analysis
- Pingdom – Simple monitoring
Test your site monthly. Look for new slowdowns after adding plugins or content.
Performance Goals for 2025:
- Desktop Core Web Vitals: All “Good” (green)
- Mobile Core Web Vitals: All “Good” (green)
- Load time under 3 seconds
- Focus on real user data over lab scores
The Bottom Line
Start with NitroPack if you want instant results with zero technical work. After testing many optimization solutions, NitroPack consistently delivers the best results with the least effort. Users regularly see 50%+ speed improvements in minutes.
If you’re on WP Engine, use their Page Speed Boost addon, it’s NitroPack technology integrated with their hosting platform.
For manual optimization, focus on plugins, images, and caching first. These three changes will give you the biggest speed boost.
Next Steps:
- Test your current speed at pagespeed.web.dev
- Try NitroPack (or WP Engine Page Speed Boost if you’re on WP Engine)
- Retest to measure improvement
A fast loading site really does improve the user experience for your visitors and in my experience tends to lead to more conversions. At the very least it gives visitors to your site one less reason to leave it.